
Week: 4
Theme: Filling
Dish: Scones
This was a failed attempt. I had originally wanted to make clotted cream for my filling, but it's quite labor intensive. Then I thought I would just fall back on whipped cream, but then I realized that my cream had gone bad -- it was chunky! :( So I just filled it with jam.
Here's the recipe from Jamie Oliver's Jaime's Food Revolution:
Ingredients:
- 1 cup mixture of raisins and/or dried cherries (I used raisins)
- Orange juice for soaking
- 4 cups of self-rising flour, plus a little for dusting
- I made my own rising flour with this mixture: 1 cup flour, 1 1/2 tsp baking powder, 1/2 tsp salt
- 2 teaspoons baking powder
- 1/2 cup butter
- 2 large eggs
- 1/3 cup milk
- Jam
- 2/3 clotted cream or heavy cream, whipped (failed on my part. :( )
Steps
To Make the Dough
- Preheat the oven to 400 degrees F.
- Soak the cherries and raisins in a little bowl with just enough orange juice to cover them
- While they're soaking, you can either pulse the flour, baking powder, and butter in a food processor just until the mixture starts to look like breadcrumbs, or you can blend them together by hand.
- Transfer to a mixing bowl and make a well in the middle
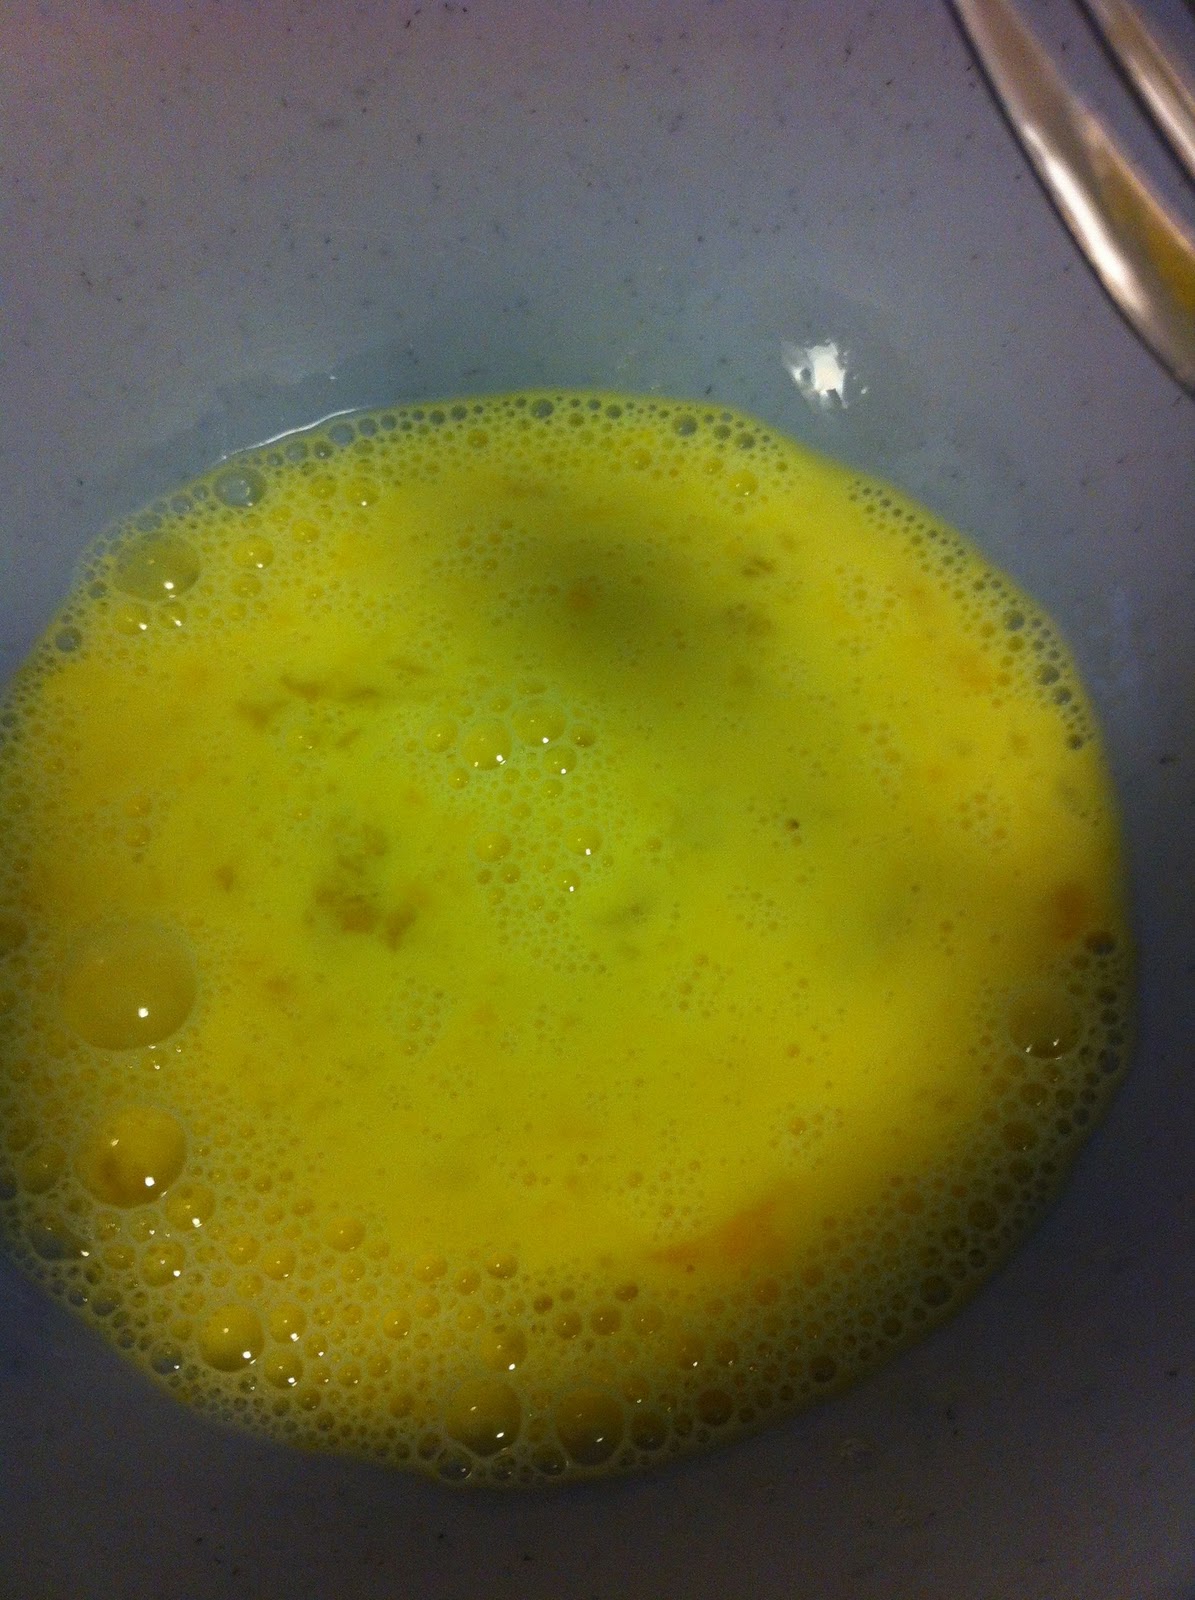
- In another bowl, beat the eggs and milk with a fork
- Drain your cherries and raisins in a strainer and add them to the beaten eggs and milk with a good pinch of salt
- Then pour your beaten eggs.milk, cherrie and raisin into the well in the flour mixture and stir well, adding a splash more milk of necessary, until you have a soft dry dough
- If your dough feels a little dry and doesn't come together, add an extra splash of milk
To Make the Scones
- Dust a clean work surface and your rolling pin with flour
- Roll out the dough until it's 3/4 in thick
- Using a 2 1/2 in round biscuit cutter or the rim of a glass, cut out 10 circles from the dough and place these on a non-stick cookie sheet
- You may have to roll your dough out again in order to get all 10 rounds out of it, but try not to knead it too much
- Dip a pastry brush into some milk and brush the top of each scone
- Bake in a preheated oven for 12 to 15 minutes, until risin and brown
- Take them out of the oven and transfer to a wire rack to cool
To Serve the Scones
- Cut each scone in half across the middle
- Spoon a dollop of jam on the bottom half of each one followed by a dollop of clotted or whipped cream and put the tops back on
- Don't forget the tea!


I didn't have a food processor so I just broke things up with a wooden spoon and when I realized things weren't working out with the spoon I just broke up the big pieces of butter with my hands.


I didn't get a picture of me mixing the flour, but I found that mixing it a bit with a spoon and then following it up with mixing by hand the most useful method. Also try to get a huge mixing bowl. Mine was way too small and it made mixing a real pain.


My glass ended up being a bit too big and my 10th scone had to be smaller and formed by hand. I put it on parchment paper to keep clean up easy.
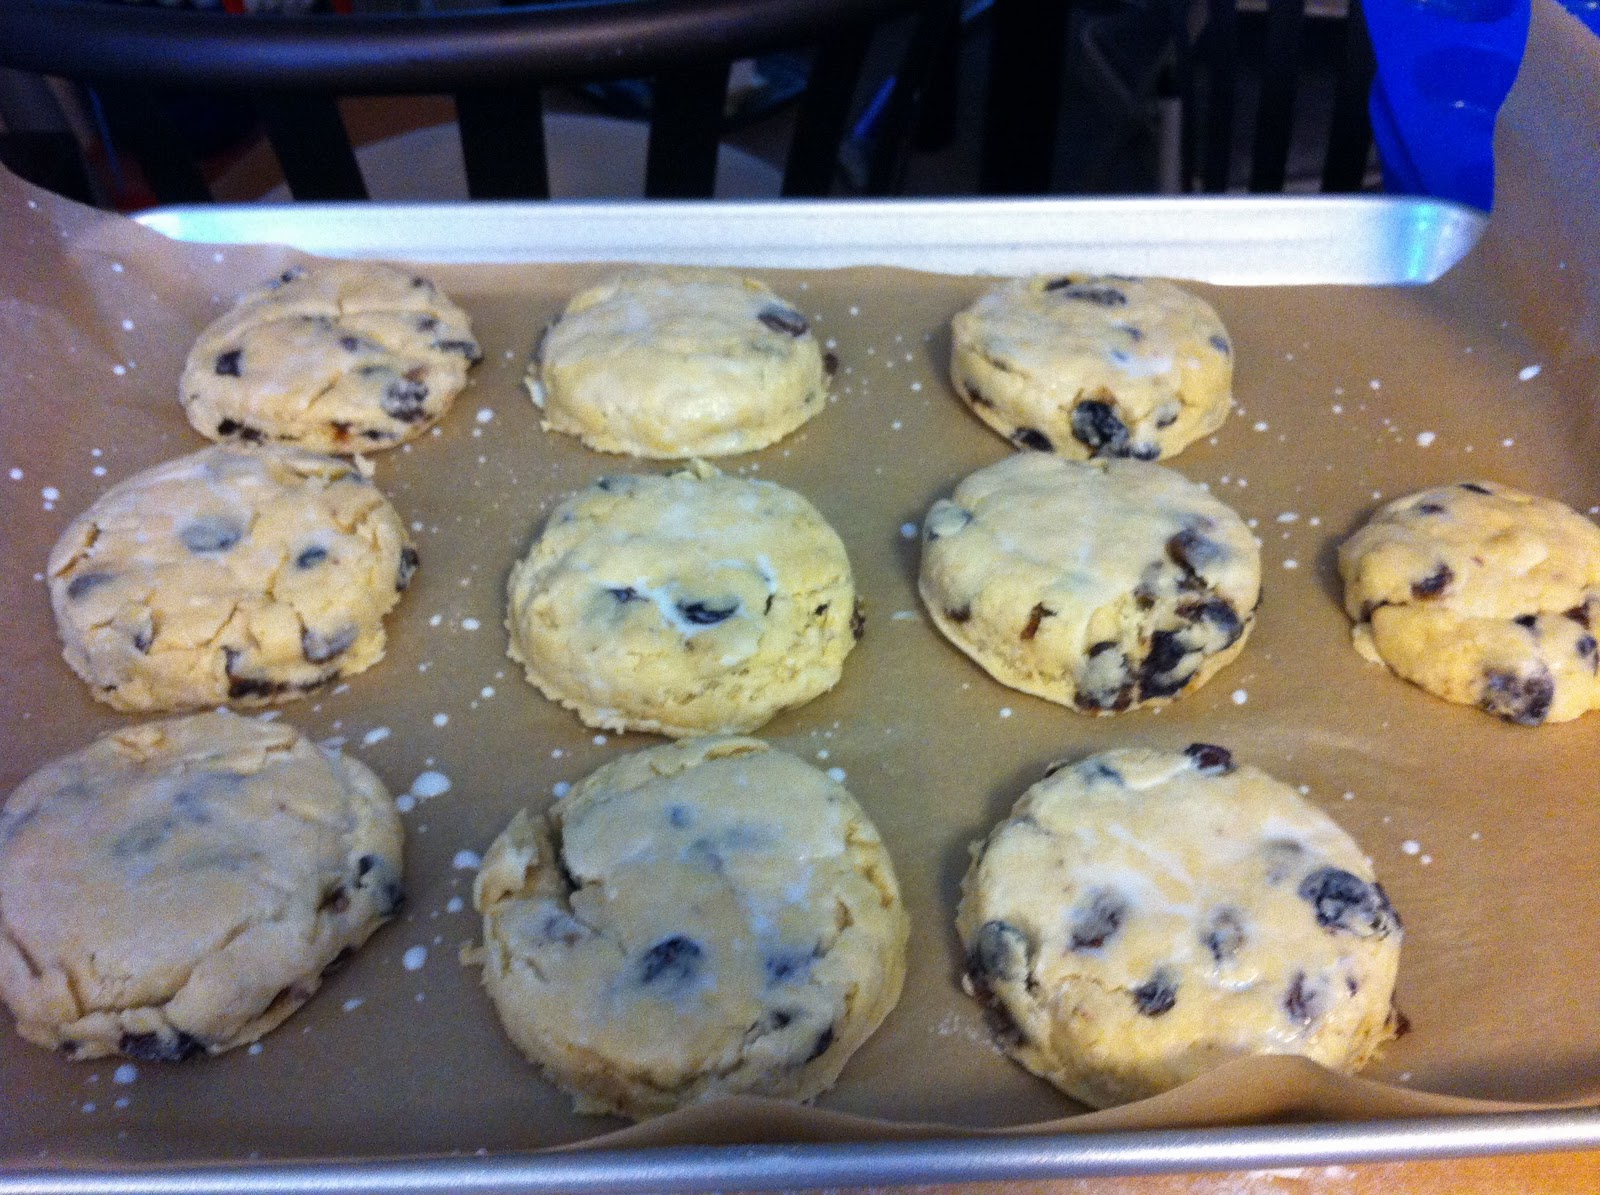
I didn't have a pastry brush, hence the messy milk splatter. Time to put it on my to buy list.

I ended up cooking these longer than 15 minutes because they didn't seem brown enough.

Of course, who eats scones without some tea? I made some English Breakfast. :)
I don't know if the jam counts as a filling since I didn't make the jam, but I really tried to make the clotted cream. Sometimes you just have to deal with what you have.


